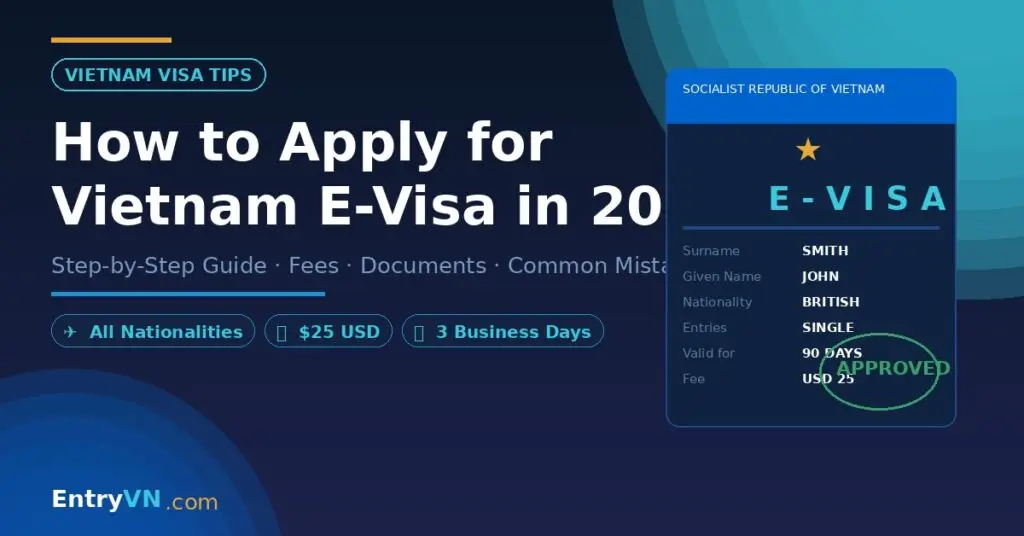
Vietnam E-Visa Application: Step-by-Step Guide for 2026
Before You Start: What You Need
- Valid passport with at least 6 months remaining from your intended entry date
- Digital passport photo (4×6cm or equivalent, white background, clear face, taken within 6 months)
- Photo of your passport bio data page (the page with your photo and personal details)
- Credit or debit card for payment (Visa, Mastercard, UnionPay accepted)
- Email address to receive your e-visa
- Your accommodation address in Vietnam (even a hotel name works)
E-Visa Prices (as of mid-2026)
Multiple entry ($50) is recommended if you’re also visiting neighboring countries (Laos, Cambodia, Thailand) and returning to Vietnam, or if there’s any chance your plans change and you need to exit and re-enter.
Step-by-Step: The Complete E-Visa Application
Go to evisa.gov.vn and Click “E-visa Application”
Navigate to the official site. The page is available in Vietnamese and English — switch to English using the language button at the top right. Click the “E-visa for foreigners” or equivalent option on the homepage.
Enter Your Passport and Personal Information
Fill in your details exactly as they appear in your passport:
- Full name (include all names — middle names if any — exactly as in passport)
- Date of birth
- Nationality and country of birth
- Passport number, issue date, expiry date
- Gender
Choose Visa Type, Entry/Exit Dates, and Entry Point
Select:
- Visa type: DL (Tourist / Du lịch) for tourism. Other types for business, medical, etc.
- Single or multiple entry
- Intended entry date — this is the date you plan to arrive, not when you apply
- Intended exit date — can be up to 90 days from entry date
- Entry checkpoint: Select your airport (e.g., “Noi Bai International Airport” for Hanoi)
- Exit checkpoint: Select if different from entry
Enter Your Vietnam Accommodation Address
You must provide an address in Vietnam where you’ll be staying. If you haven’t booked yet, use the address of a known hotel in the city you’re visiting. This is a required field but immigration doesn’t typically verify it strictly for tourists.
Upload Your Photos
Two uploads required:
- Portrait photo: 4×6cm (or square crop of your face), white background, no glasses, clear lighting. Must be recent (within 6 months).
- Passport bio page: Photo of the page with your personal details and passport photo. Must be clearly readable — all text legible, no glare or shadows.
Review and Pay
Review all information carefully on the summary page. Once you’re satisfied, proceed to payment ($25 for single or $50 for multiple entry). Payment accepts major credit/debit cards and UnionPay.
Save Your Application Number
After submitting, you’ll receive an application number. Save this — you’ll need it to check your application status and retrieve your e-visa when it’s ready. Check your email as well for a confirmation.
Wait for Processing and Download Your E-Visa
Standard processing: 3–5 business days. Urgent processing: 1–3 business days (may cost extra). Emergency: 2–8 hours (available in some circumstances).
When approved, return to evisa.gov.vn, enter your application number and passport details to retrieve and download your e-visa as a PDF.
Common E-Visa Mistakes to Avoid
- Name mismatch: Every character must match your passport exactly — including middle names, hyphens, spaces
- Applying too late: Apply at least 5–7 business days before travel to allow for processing and any corrections
- Low-quality passport photo: Blurry, glare, or unreadable text in the passport scan causes rejection
- Wrong entry date: The e-visa counts from the date specified — arrive before or on that date
- Using third-party sites: Many unofficial sites charge $80–150 for what costs $25–50 at evisa.gov.vn
- Not printing: Some airports and border crossings may ask for a physical copy
Don’t want to deal with the government website?
We handle Vietnam e-visa applications remotely — correct first time, or we fix it free.
What to Do If Your E-Visa Is Rejected
E-visa rejections are relatively rare but do happen. Common reasons include unclear photos, name mismatches, passport validity less than 6 months, and applying for an entry date in the past. If rejected:
- The government does not always explain the rejection reason
- You can reapply immediately — fix the likely issue and submit a new application
- The original application fee is generally non-refundable
- See our guide on Vietnam E-Visa Rejected — 7 Common Reasons for detailed troubleshooting
Frequently Asked Questions
Vietnam e-visa is valid for a maximum of 90 days per issue. It’s valid from your specified entry date — the clock starts from that date, not from when you actually arrive. So if your e-visa says valid from July 15, but you arrive July 20, you only have 85 days left (or less). Plan your entry date accordingly.
No — Vietnam e-visa cannot be extended. If you want to stay longer, you must exit Vietnam and re-enter (either by applying for a new e-visa or qualifying for visa-free entry for a second stay). This is one reason the multiple-entry option ($50) is popular — it lets you do border runs and re-enter.
No. Your e-visa has a start date — you cannot enter before that date. If your travel plans change and you need to arrive earlier, you’d need to apply for a new e-visa with the correct date. This is why it’s important to apply with your actual intended entry date, not a “safe” earlier date.
Generally no — you can enter through any Vietnamese international immigration checkpoint regardless of which one you listed on the form. The entry point field is informational. However, to be safe, some travelers list the checkpoint they actually plan to use. If you’re entering by land border, the same e-visa is valid for land crossings.